
Last updated November 18, 2026
 Hardwood
 Engineered hardwood
 Luxury vinyl plank
 Laminate
 Porcelain tile
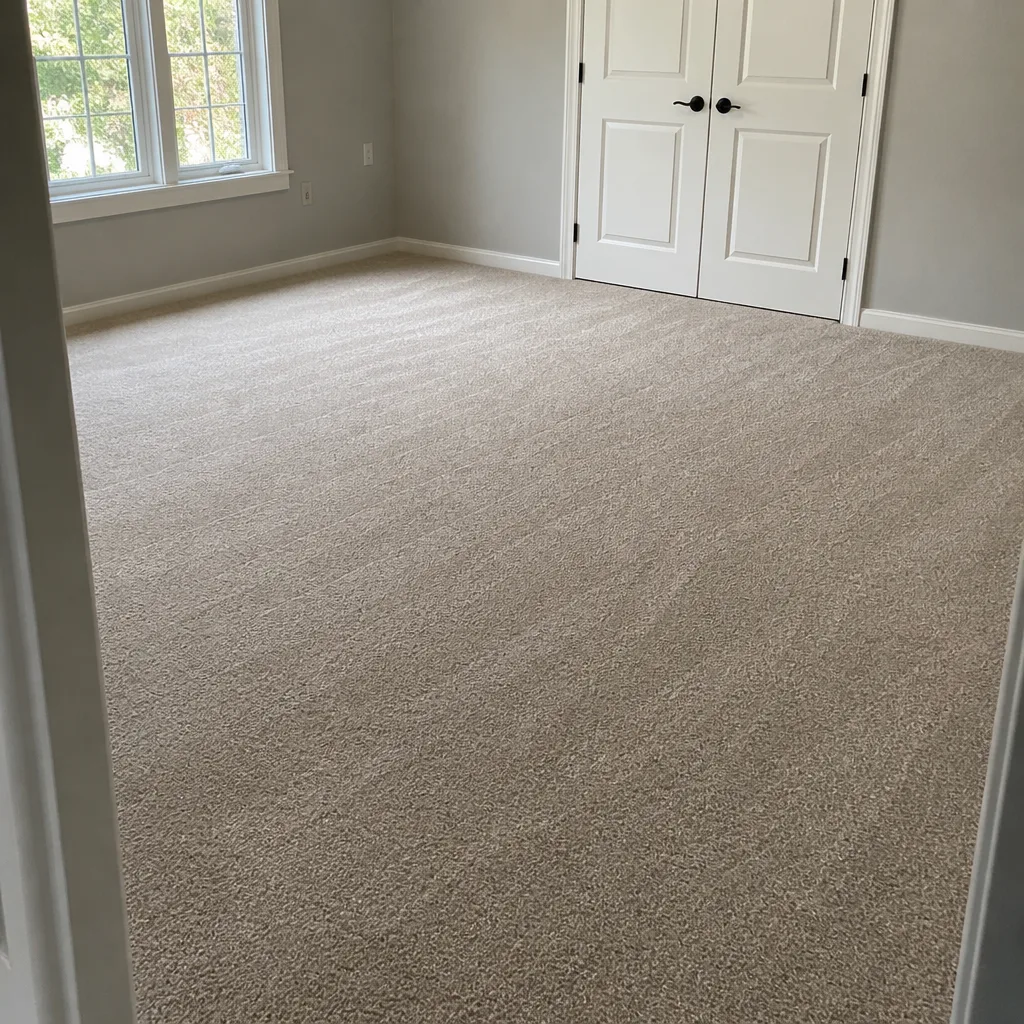 Carpet
 Shaw
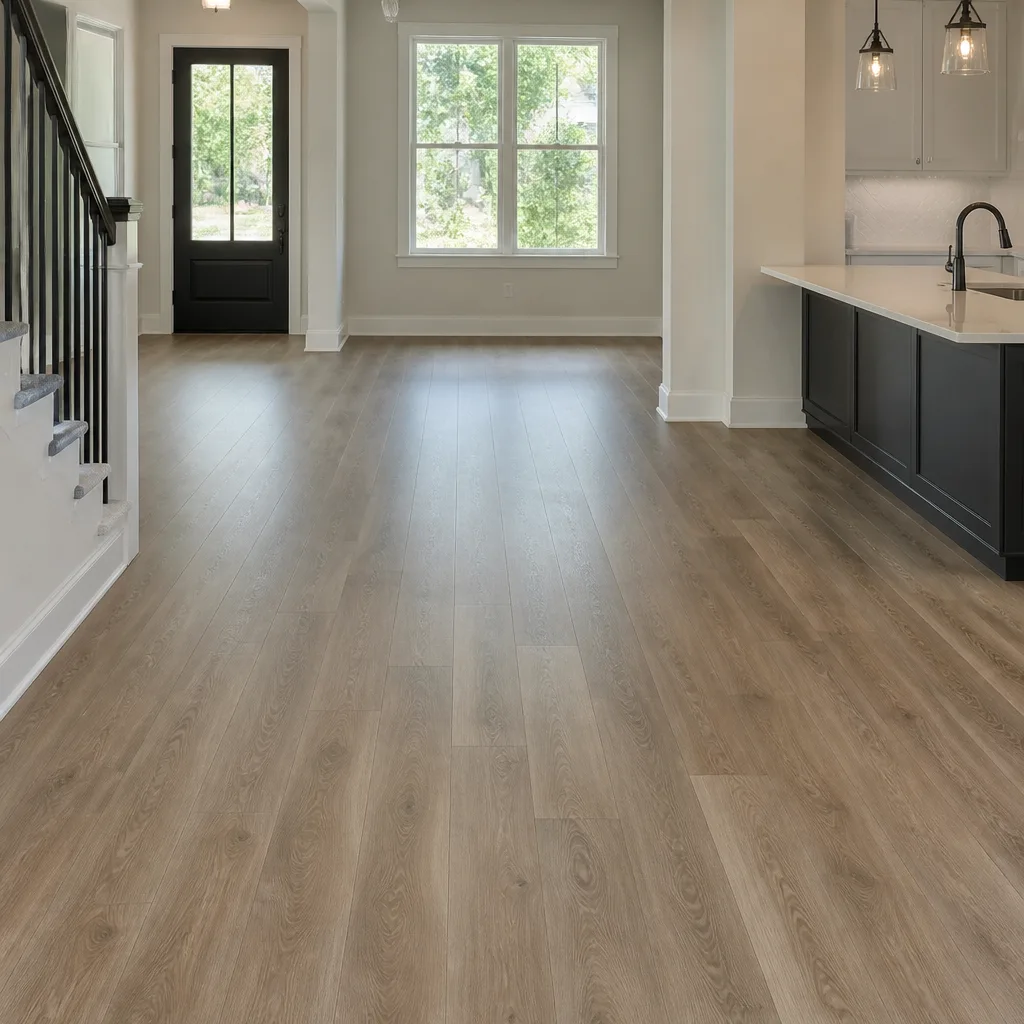 Mohawk
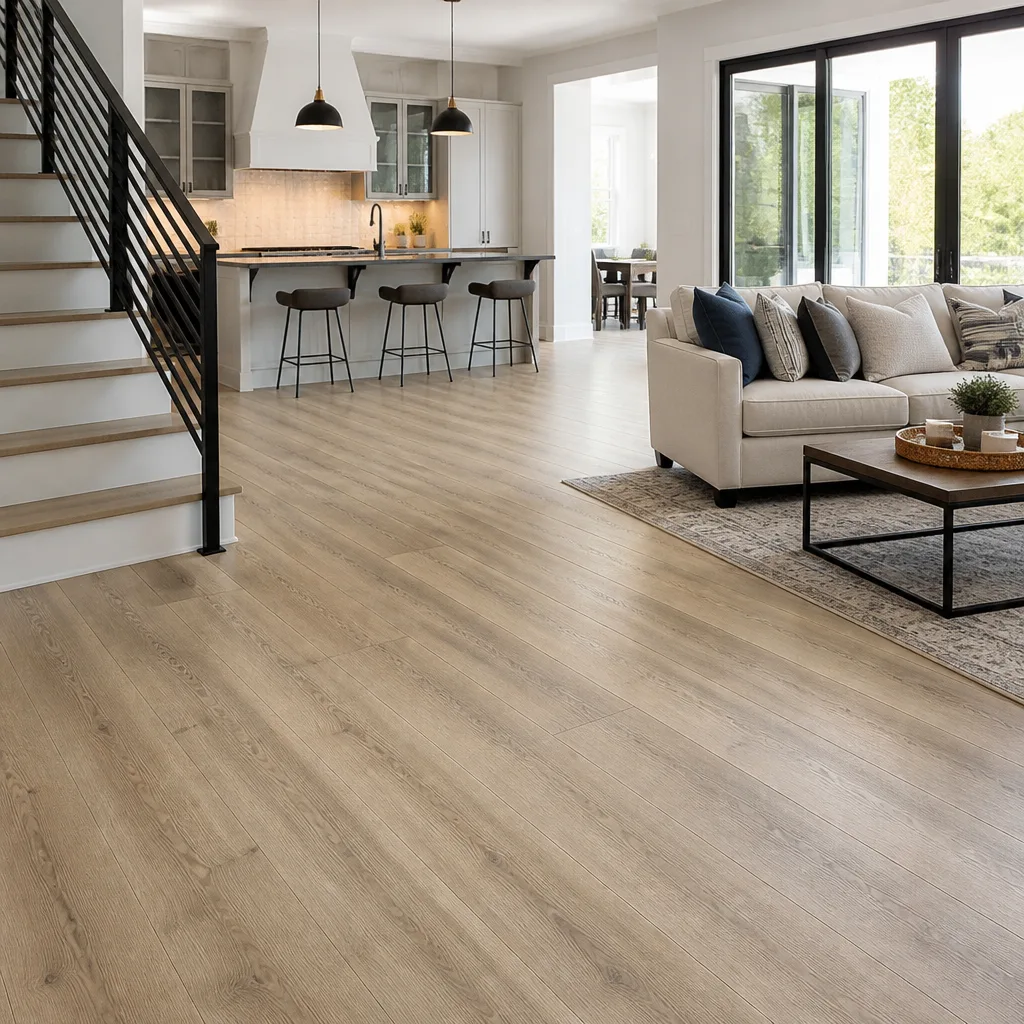 COREtec
 Pergo
Free in-home measure and written estimate: Shaw, Mohawk, COREtec and Pergo lines compared on your own rooms, with carpet, tile, vinyl plank, laminate and hardwood laid out side by side
Get your free estimateHow to Prepare Your Home for a Flooring Installation in North Las Vegas
The most expensive day of a flooring project is often Day One, when the crew arrives and the room isn’t ready. Two hours of paid labor can disappear before a single plank is laid, and the schedule slips from there. That isn’t a contractor problem. It’s a preparation gap. Most homeowners know they need to move furniture and pick a material. Few know what “ready for installation” actually means on a checklist a crew uses. This guide covers the physical, logistical and environmental prep that keeps a North Las Vegas project on schedule and on budget: acclimation, subfloor access, HVAC settings, furniture contracts, and pet and child logistics.
Quick Answer
To prepare for a flooring installation in North Las Vegas, clear the room of furniture and breakables, remove baseboards and closet contents yourself if you want to save labor, let wood-based materials acclimate in your home before install day, and run your AC at normal living temperature through the job. Handle built-ins, pianos, safes and electronics ahead of time. Confirm with your installer which furniture items they’ll move and which they won’t. Prep done before the crew arrives is the single biggest lever on schedule and cost.
Styles & brands we work with
- Hardwood
- Engineered hardwood
- Luxury vinyl plank
- Laminate
- Porcelain tile
- Carpet
- Shaw
- Mohawk
- COREtec
- Pergo
Table of Contents
- Acclimation: Why Materials Need to Sit in Your Home First
- Subfloor Access Prep: Closets, Baseboards and Carpet-Over-Concrete
- What “Moving Furniture” Actually Means in a Contract
- HVAC and Temperature Management During the Job
- Pet and Child Logistics: Safety and Finish Quality
- How the Install Schedule Really Works
- Material Choice and Brand Roster: What to Decide Before Install Day
- Older North Las Vegas Homes: What to Expect
Acclimation: Why Materials Need to Sit in Your Home First
Wood-based flooring expands and contracts with the humidity in the room where it lives. North Las Vegas runs dry most of the year, and the interior humidity swing between summer and winter inside a house can be significant. If a box of wood flooring is installed straight off a truck into an air-conditioned room, the boards are still holding the moisture profile of the warehouse or the back of the delivery van. Once they adjust to your home, gaps open at the seams. This isn’t a defect. It’s the material doing what wood does.
Acclimation is the fix. The material sits in the room where it will be installed, in the packaging the manufacturer specifies, for however long the product instructions and the written estimate require. That time isn’t a fixed number we can quote off the top of our heads. It depends on the product, the packaging, the season and the moisture reading at the estimate visit. What you can control is that it happens at all, and that it happens in your home, not a warehouse.
How to acclimate properly
- Confirm the required acclimation window in writing. Ask your installer at the estimate and get it in the written quote, not a phone conversation.
- Bring boxes inside and into the room. Stack them as the manufacturer’s instructions say, usually flat, not leaning against a wall.
- Run your AC normally through the acclimation period. Don’t turn it off to save money and don’t blast it. Set it to the temperature you actually live at.
- Keep the room closed off from outdoor air. Open doors and windows during a windy spring day undo the whole point.
- Leave the boxes alone. Don’t open them, don’t move them around, don’t stack other things on top.
- Confirm with your installer before install day. A quick call to check the material is ready prevents a wasted trip.
Water-resistant products with a waterproof core, like those from LifeProof and COREtec, have their own acclimation requirements that are usually shorter and sometimes different. That’s still set by the product instructions, not by guesswork. Any installer who says “we don’t bother acclimating” is telling you something about how they work.
Subfloor Access Prep: Closets, Baseboards and Carpet-Over-Concrete
Subfloor access is where North Las Vegas prep gets specific. A lot of the tract housing built in the 1990s and 2000s across the valley sits on slab-on-grade construction with carpet glued or tacked directly over the concrete. Getting new flooring down means the crew has to reach the concrete, and anything in the way becomes paid labor. Closets are the classic example: a bedroom is emptied but the closet isn’t, and now the crew is moving someone’s winter coats and spare boxes before they can pull tack strip.
What to clear before install day
- Closets, top to bottom. Everything out, including the shelf contents and anything on the floor. Include the hall closet and linen closet if they’re getting new flooring too.
- Baseboards. Removing baseboards yourself saves labor. If you’d rather not, tell your installer so they can quote for it. Some installers cut and reinstall, others replace. Confirm which.
- Door slabs. Interior doors usually need to come off so the crew can lift them clear of the new floor height. High-traffic doors often need trimming after the floor goes in.
- Appliances. If the kitchen or laundry room is on the schedule, confirm who disconnects and moves the fridge, washer and dryer. That’s often not the flooring crew.
- Wall hangings and shelf items. Anything breakable comes down. The crew will bump walls with boards and tools.
- Old flooring inspection. Lift a corner of carpet and look at what’s under it. If you see cracked concrete, adhesive residue or old tile, tell your installer before install day so they can plan for it.
Baseboards and trim are the highest-value do-it-yourself savings on this list, because they’re easy to remove with a pry bar and a utility knife and don’t require a professional. Closet clearing is the highest-value thing you can do for the schedule. Subfloor prep, like patching or leveling concrete, always belongs to the installer.
What “Moving Furniture” Actually Means in a Contract
“We move furniture” is one of the most misunderstood lines in a flooring quote. It rarely means what a homeowner pictures, which is everything they own, including the piano. Read the contract carefully: the standard exclusion list covers heavy, fragile, mounted or built-in items. If you assume otherwise, you’ll either be paying extra or doing the move yourself at the worst possible moment. Either way, the schedule suffers.
Items installers typically will not move
- Upright and grand pianos
- Gun safes and large heavy safes
- Aquariums and fish tanks, both for weight and for the risk to live animals
- Built-in cabinetry, bookcases attached to walls, and wall-mounted TV consoles
- Exercise equipment, especially treadmills and racks
- Anything over a certain weight, which varies by installer and should be stated in the contract
- Electronics, computers and anything with a screen you care about
There’s also the “empty else” list: the crew will usually slide a sofa, a dining table or a dresser. They’ll usually move a mattress on its side. They will not empty a bookcase, wrap your grandmother’s china or deal with the collection of boxes under the guest bed. Get that stuff out of the room the night before.
How to plan the furniture move
- Read the contract before signing. Look for the word “exclusions” and ask about anything not on the list.
- Ask directly which items they’ll move. During the free estimate is the right moment, not the morning of.
- Arrange piano and safe movers a week ahead. These are specialist moves and book out.
- Stage furniture in one room. Consolidate everything from the work areas into a single staging room, then cover it with a drop cloth.
- Unplug and empty electronics yourself. Take the TV down, wrap the monitor, box the console.
- Move valuables and collectibles out of the home. Jewelry, documents, small heirlooms. Don’t test the crew’s honesty on your own stuff.
HVAC and Temperature Management During the Job
Run your AC. That’s the short version. The longer version is that turning off the air conditioning during an installation to save on the power bill can be the most expensive decision you make on the whole project. Adhesives, grout and finish products all have application temperatures set by the manufacturer’s instructions. Installation crews are working in the room for hours. You’re paying for that time. A hot room doesn’t speed anything up; it slows it down and can change how a product behaves.
What to set and when
- Normal living temperature, from the morning the crew arrives. Not colder, not warmer. The same setting you use every day.
- Leave it running through the whole job. Don’t turn it off when you leave for work. Don’t nest it down for the day.
- Coordinate thermostat access. If your thermostat is in a room being worked on, tell the installer the schedule so nobody turns it off by accident.
- Open windows only when the installer says to. Fresh air during adhesive work is important, but a hot dry spring wind can move the humidity profile of the room. Follow the installer’s guidance.
- Talk to your installer about ventilation. Some products have stronger fumes than others, and your installer should know which ones you’ve chosen.
North Las Vegas summers push triple digits regularly, and a house with the AC off climbs fast. That’s not just uncomfortable; it’s a real risk to the finished product, and to the crew working in it. Treat your HVAC schedule as part of the project schedule. If your system is due for service, get it serviced before install day, not after.
Pet and Child Logistics: Safety and Finish Quality
Living through a flooring installation with pets and kids is manageable, but it isn’t just a convenience question. It’s a safety question and a quality question. Adhesive fumes, dust from demolition, wet grout and freshly installed floor that can’t be walked on for a while all require planning. And precision work in a room gets interrupted every time a child runs through it. The finish pays the price.
Pets during the job
- Board pets off-site during adhesive and finish days. A boarding facility, a family member’s house, or a trusted pet sitter. This is the single biggest quality protection you can give your floor.
- If they have to stay home, close them in an interior room far from the work. Between the doorways and the drop cloths, the work area isn’t safe for a dog.
- Watch the finished floor for the first few days. Nails can scuff a fresh finish. So can a wet nose on a tacky surface.
- Expect some anxiety. Power tools in a house are scary for animals. Give them a room with water, food and a bed.
Children during the job
- Plan activities off-site on demolition and adhesive days. Grandparent visits, day camp, trips to the park. The house isn’t a good place for kids during a major install.
- Keep them off wet floors. Wet grout, wet adhesive and newly laid flooring with weight limitations. Ask your installer how long the cure takes before anyone walks on it. This is product-specific and in the instructions.
- Block the work area with a gate or a closed door. Reduces the temptation to test the new floor mid-install.
- Talk to older kids about the plan. A quick explanation of which rooms are off limits and for how long prevents a lot of back-and-forth on install day.
One more thing on this list: carpet installation produces far less dust than tile demolition, but it does generate offcuts and adhesive odors. Plan the same way whether you’re doing Shaw carpet in a bedroom or Daltile tile in a bathroom. Every installation has a window when the floor is being turned over from old material to new.
How the Install Schedule Really Works
A flooring project is scheduled in three stages, and every one of them matters: a free in-home measure and estimate, a written price and product confirmation, then a booked install day. No reputable installer promises same-day installation off a phone call, because the material has to be selected, ordered, delivered and acclimated first. Understanding the sequence is what lets you plan around it.
Stage 1: The free in-home measure and estimate
Someone walks the rooms, measures the square footage, and looks at what’s under the current flooring. This is where the installation plan is set, including what you’ll move, what your installer will move, and how the subfloor will be handled. Come to this meeting with your material shortlist, your timeline and your questions about exclusions. Take notes.
Stage 2: The written price
The written estimate should match the scope agreed at the visit. Watch for line items you didn’t agree to, and watch for scope items you agreed to that aren’t in the quote. Both are red flags. If the material isn’t listed by product name, ask for it to be. The written estimate sets the final price.
Stage 3: Install day
By install day, you should be cleared out, packed up, and have your HVAC set to normal, your pets boarded and your furniture staged. The install schedule per room varies by material and room condition, and it’s set at the estimate, not on the morning of. Don’t plan a party for the day after the install either. Ask your installer how long before the floor is ready for regular foot traffic and furniture, then add a buffer because things slip.
Plan each room separately, but let the installer sequence the rooms. Doing the whole house at once requires moving out further and can cost more labor. Doing it room by room runs the household disruption longer. There’s a middle path where the installer staggers the rooms to keep one working bathroom and one working kitchen. Talk through it at the estimate.
Material Choice and Brand Roster: What to Decide Before Install Day
The prep steps are easier when the material is locked in before you start packing boxes. Deciding between carpet and tile, or between hardwood and a water-resistant plank, changes what the crew does on install day and what you need to clear out. Here’s where the choice actually comes down to how the room is used and how much traffic it sees, not just how it looks.
How the material shape changes the prep
- Carpet is the softest install and the least disruptive to a home. It goes down over pad or over concrete slab, and demolition of old carpet is usually quick. Shaw and Mohawk are the two carpet brands in our roster.
- Tile involves the largest amount of dust and old-floor demolition, and needs the longest cure time before it can be walked on. If you’re choosing from Daltile’s range, plan for a full day of demolition and a full day of installation, and confirm the cure time before anyone walks on it.
- Hardwood and resilient plank combine with the acclimation question, and the subfloor prep question, in ways the other two don’t. A water-resistant plank with a waterproof core, like COREtec or LifeProof, is a different proposition from solid hardwood, and the prep differs accordingly.
Where this matters: a house redoing a hallway, a bedroom, a kitchen and a bathroom is making four different decisions. A carpet line for the bedroom, a tile for the bathroom, a water-resistant plank for the kitchen, refinishing on the existing oak floor in the hallway. Working with one specialist across all of them, rather than coordinating four installers, is what keeps that plan coherent. Nine brands, one specialist is the reason it works: Floors North Las Vegas handles carpet installation, tile flooring installation and hardwood refinishing across North Las Vegas.
Restore before you replace
If your existing hardwood floor is dull, scratched or dated but the boards themselves are solid, hardwood refinishing is worth a second look before anyone quotes a tear-out. The floor is sanded back to bare wood and refinished. It’s less disruptive than a full replacement, it avoids the same acclimation cycle as a new wood floor, and it keeps a floor out of a landfill. That’s a decision to make at the estimate visit, because not every floor is a good candidate for refinishing. It depends on the thickness of the wood and its condition, both of which get checked at the visit. Mannington and Armstrong appear in our range alongside the resilient options for homes that want a new look without wood.
Older North Las Vegas Homes: What to Expect
Older tract homes across the valley share some recurring features that affect prep. Slab-on-grade construction is the big one: the concrete is the subfloor and everything sits on it. That means the crew has to deal with whatever’s under the old carpet, and what’s under old carpet in a North Las Vegas home is often more interesting than the homeowner expected.
- Carpet tack strip set into concrete. Pulling carpet over slab reveals tack strip nailed or glued to the concrete. Removing it is part of the job, and it’s slower than removal over a wood subfloor.
- Adhesive residue from previous flooring. If a kitchen or hallway ever had vinyl or tile, there’s usually adhesive residue. Some of it needs grinding off, some of it can be left. This is a professional call at the estimate visit.
- Cracks and settling in the slab. Hairline cracks are common. Wider cracks or uneven concrete may need patching or leveling, which affects the subfloor and the level of the finished floor.
- Door clearances. Slab homes often have tighter door clearances after a new floor goes in. Interior doors may need trimming. Confirm who does it.
- Baseboard condition. Old baseboards may be brittle or attached to drywall that’s aged. If you’re removing them yourself, expect some drywall touch-up after.
The good news is none of this is surprising to a flooring specialist who works in North Las Vegas regularly. The bad news is that it’s usually invisible until someone lifts a carpet or pulls a baseboard. That’s exactly why the estimate visit matters, and why walking through the home with the installer, rather than only over the phone, is the right move.
Common Mistakes to Avoid
- Skipping acclimation in a low-humidity climate. In North Las Vegas, the dry air is friendly to wood as long as the material has adjusted to it in your home. Installing straight off the truck invites gapping. Confirm the acclimation window in writing and stick to it.
- Assuming “we move furniture” covers everything. Read the exclusions. Pianos, safes, aquariums and built-ins usually aren’t moved. If you don’t check, you’ll be moving them the morning of install day while the crew is idle.
- Leaving closets and baseboards for the crew. Closet clearing and baseboard removal are the two easiest prep jobs you can do yourself, and both save real labor cost. Do them the day before, not the morning of.
- Turning the AC off during the job. Triple-digit North Las Vegas afternoons and a house with no AC is a bad combination for the crew and for the adhesive or finish. Run it at normal.
- Keeping pets and kids in the house through adhesive and demolition days. It’s a safety issue and a finish-quality issue. Board the pets, plan the kids’ day off-site, protect the finished floor.
- Treating the estimate as a formality. The written estimate sets the final price and should include the exclusions, the product names and the subfloor plan. If it doesn’t, ask for those items to be added before you sign.
- Picking floors room by room without a plan. A whole-house project pays for itself in coordination when one specialist handles carpet, tile and hard surface in a single sequence. Four installers on four schedules is four times the room to fall behind.
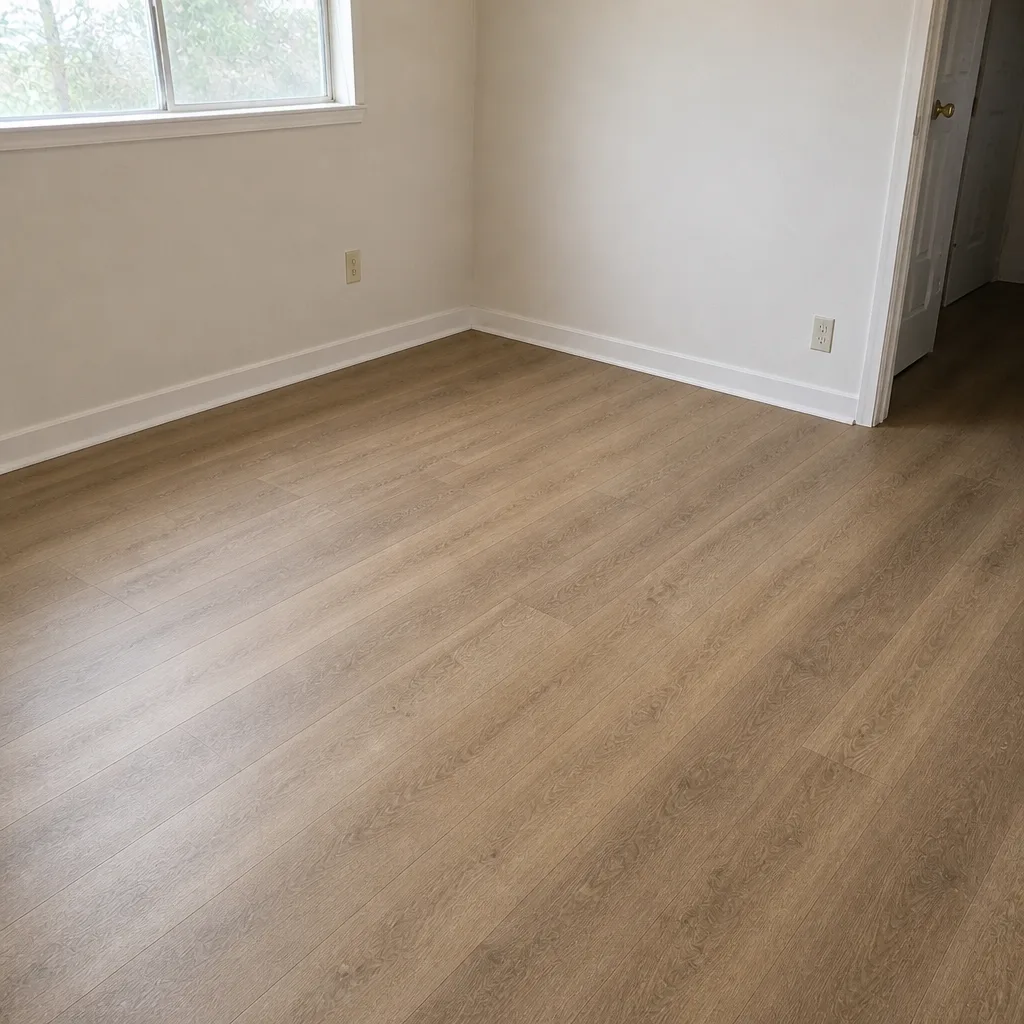
See the difference
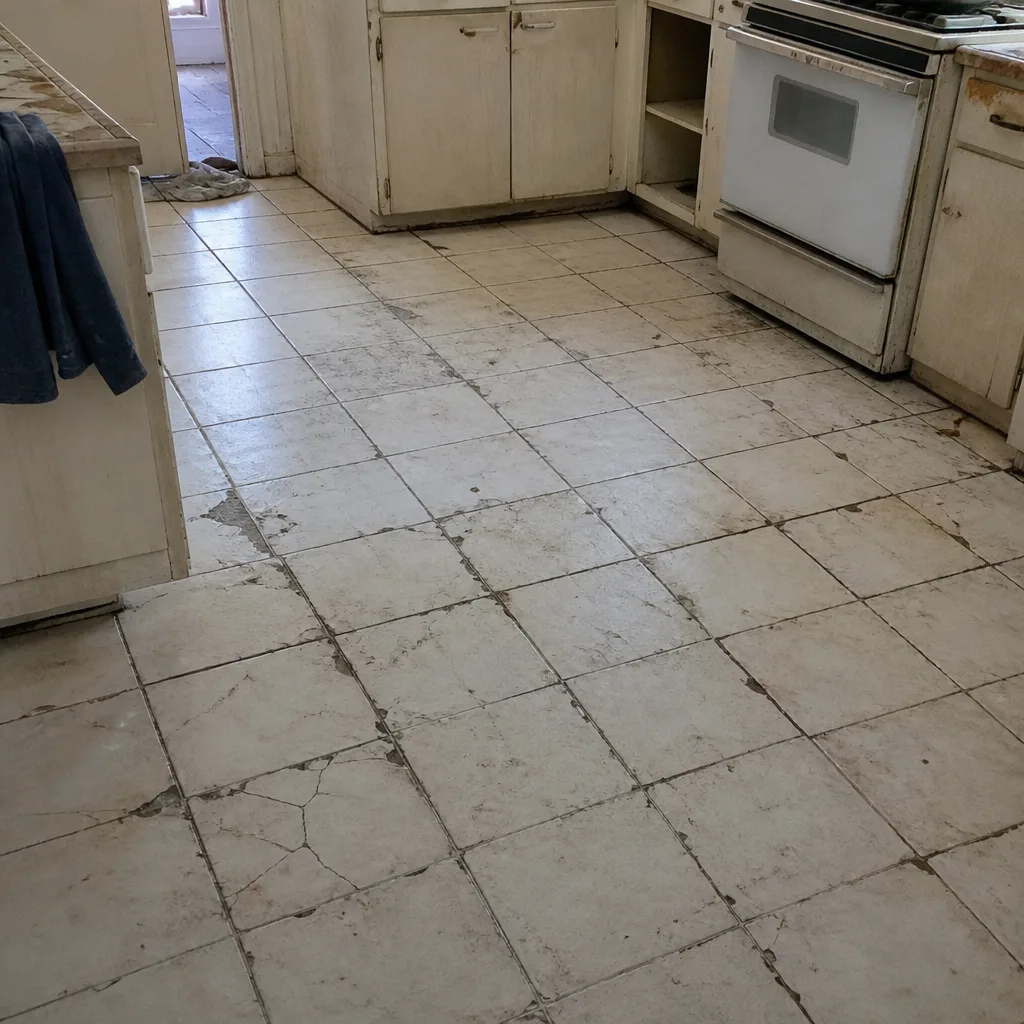 Before
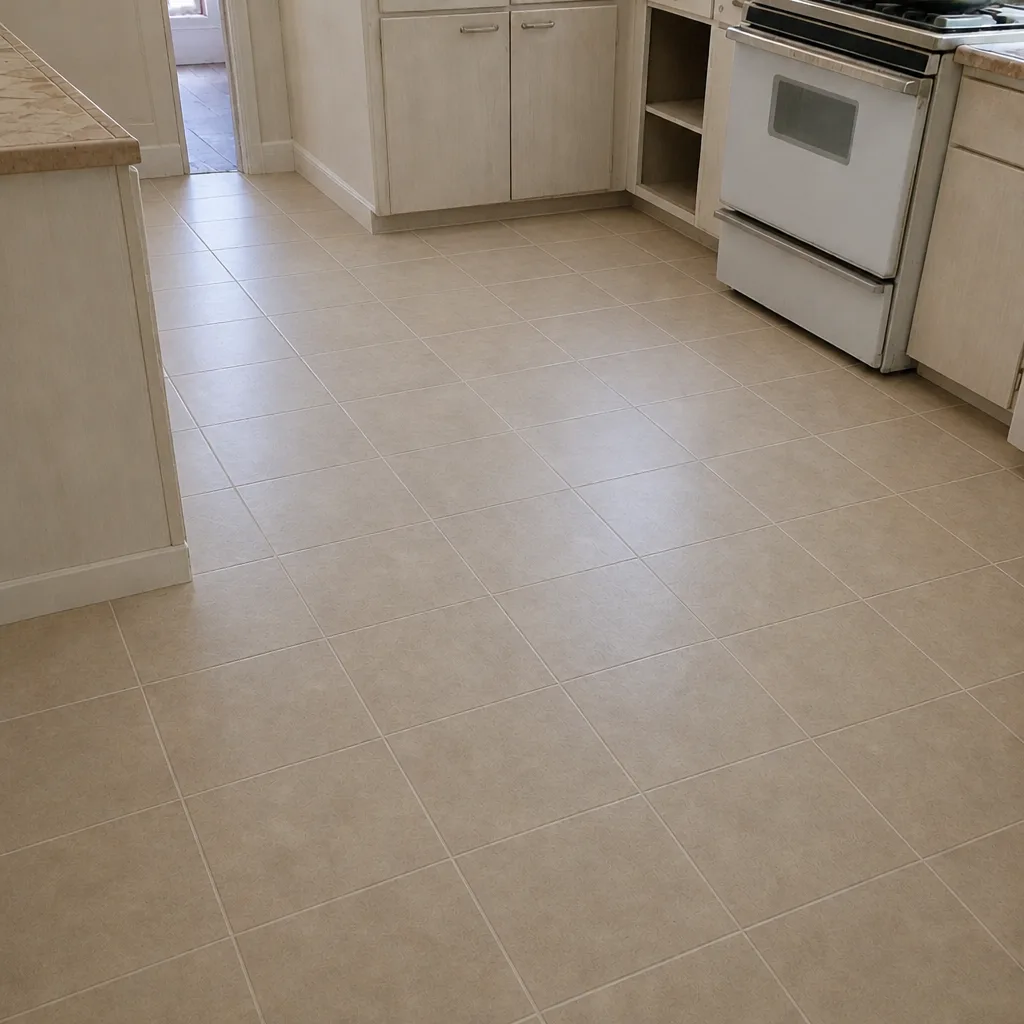 After
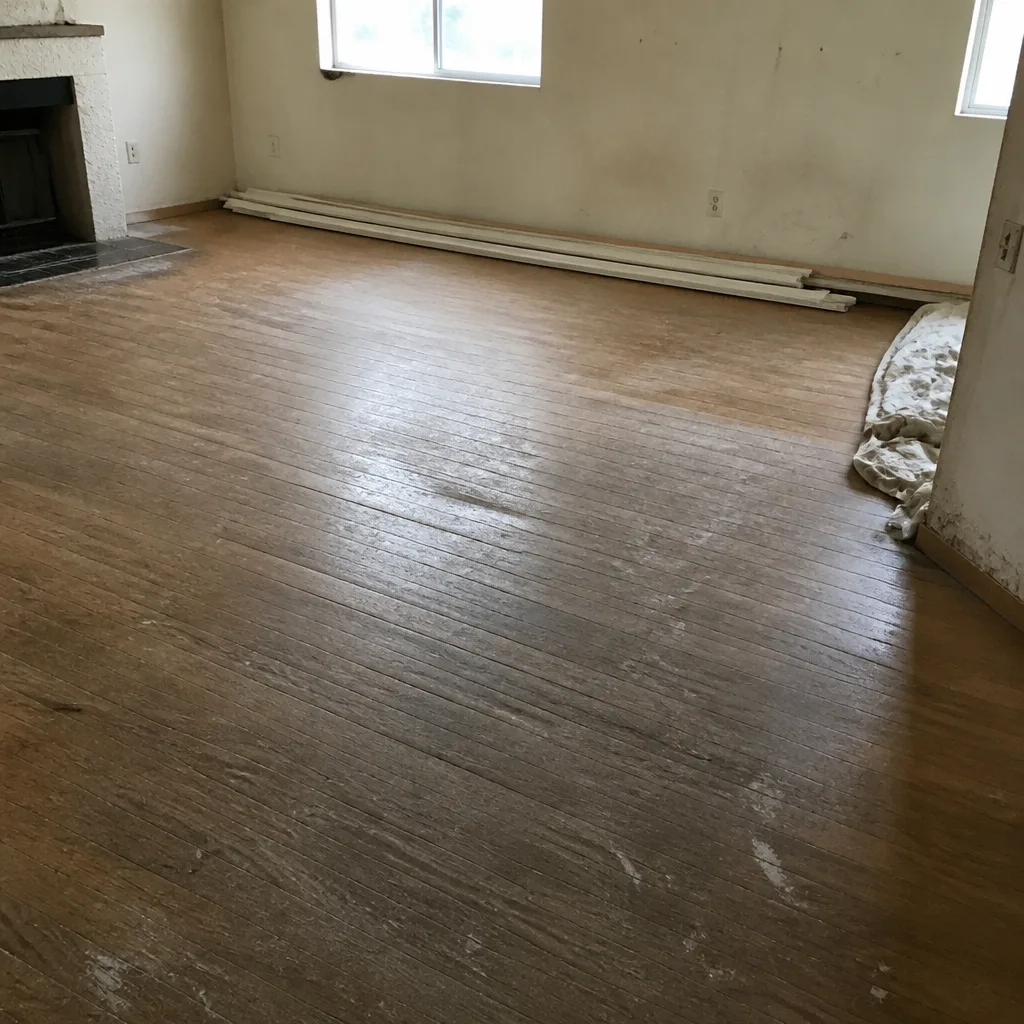 Before
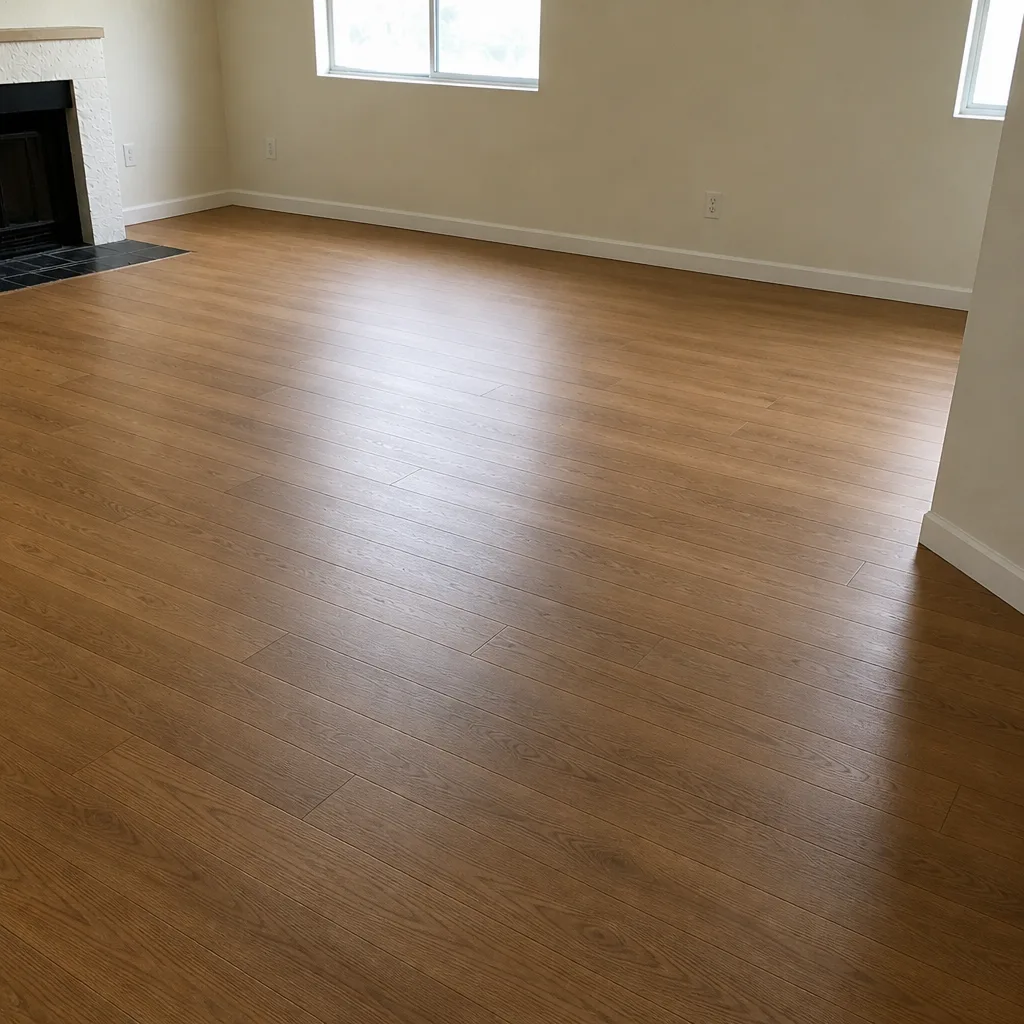 After
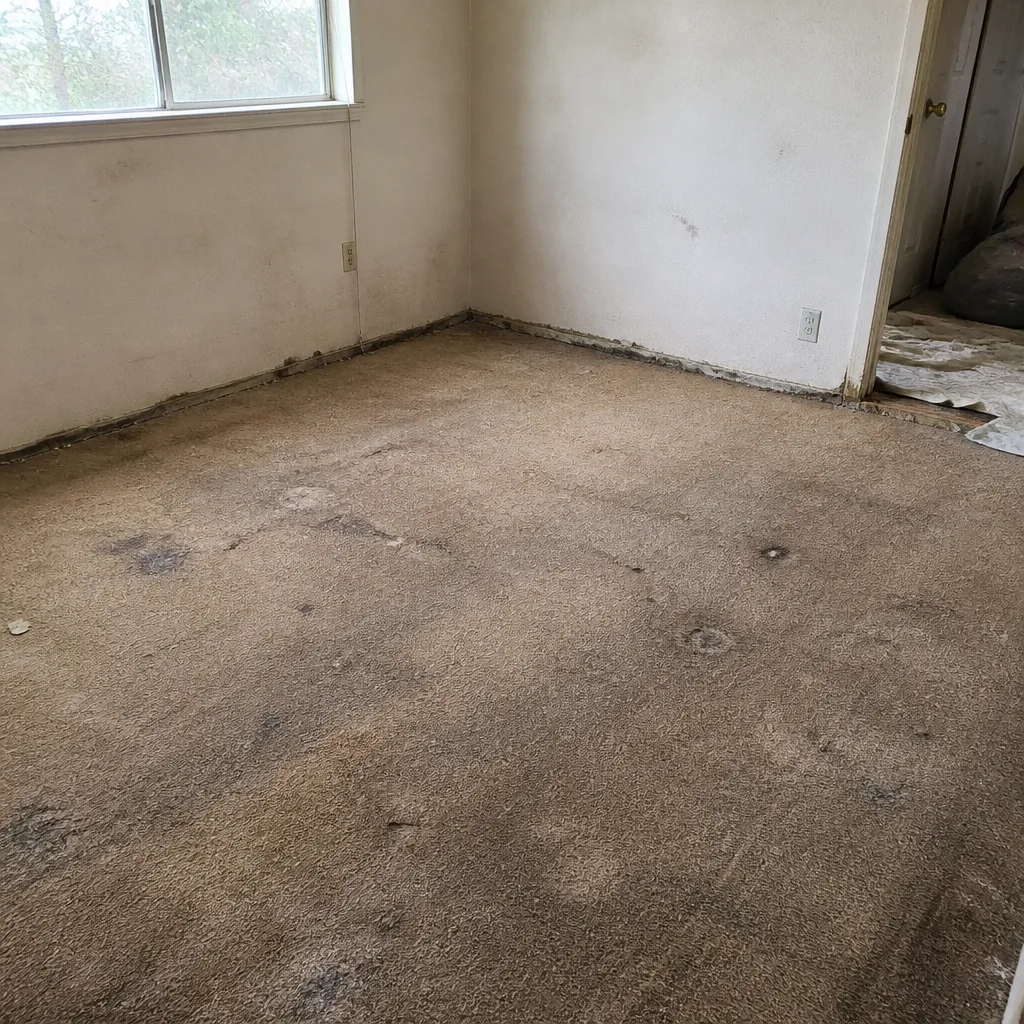 Before
 After
When to Call a Professional
If you’re doing a subfloor inspection, pulling up a corner of carpet and finding cracked concrete or adhesive residue, call a professional before you plan the install. That’s not a do-it-yourself fix and it affects which materials make sense. If you’re refinishing existing hardwood, that’s always a professional job. Sanding and finish work are unforgiving, and the condition of the boards needs an expert eye before you commit. And if you’re planning a multi-room project with different materials, one specialist across all the rooms saves the coordination burden and the inevitable slips between trades. Floors North Las Vegas offers free estimates in North Las Vegas – call (888) 393-9180. Our technicians have up to 11 years of experience. We answer 24/7, with fast dispatch from 7am to 7pm, Sunday through Friday.
Frequently Asked Questions
The acclimation window depends on the product, its packaging and the moisture conditions at the estimate visit, so there’s no single number we can quote for every floor. What we can say is that wood-based products need to sit in the room where they’ll be installed, at your normal interior temperature, for however long the product instructions specify. That window is confirmed in the written estimate. Call (888) 393-9180 for an exact quote – estimates are free.
Usually not all of it. Most installers move normal residential furniture like sofas, dining tables and dressers, but exclude pianos, safes, aquariums, built-ins, wall-mounted TVs and heavy exercise equipment. Read the exclusions on your written estimate and ask directly about anything you’re unsure of. The crew can’t safely move what the contract doesn’t cover. Call (888) 393-9180 to schedule your free estimate and go through the list.
Yes, in most cases. Baseboards are one of the easiest prep items to do yourself: a pry bar, a utility knife and some patience will lift them without damaging the wall. Save the boards so they can be reinstalled or matched for replacement. If you’d rather not, ask your installer to quote baseboard removal and reinstall separately at the estimate visit. Call (888) 393-9180 for a free quote.
No. Keep your AC set to normal living temperature through the whole job. Adhesives and finishes have application temperatures set by the manufacturer, and a house that’s heated up in a North Las Vegas summer changes how those products behave. It’s also unsafe for the crew working in the room. Coordination on the thermostat is part of the installation plan. Call (888) 393-9180 to schedule a free estimate.
Some days, yes. Adhesive, grout and finish days are the ones to plan around. Board pets off-site through those days and arrange for younger children to be elsewhere. Finished flooring with a fresh coat of finish or wet grout has a cure time before anyone walks on it, and the cure time is product-specific. Confirm it with your installer at the estimate. Call (888) 393-9180 for a free quote.
Yes, the in-home estimate is free. It covers measuring the rooms, inspecting what’s under your current flooring, quoting the materials and labor, listing which items you’ll move and which the crew will move, and setting the install schedule. The written estimate sets the final price. Call (888) 393-9180 to book a visit.
The Bottom Line
Most flooring install delays and extra charges come from preparation, not from the work itself. The prep list comes down to a handful of steps that matter most: clear the room and the closets the night before, pull baseboards yourself if you want to save labor, let wood-based materials acclimate in your home before install day, run your AC at normal temperature through the job, and handle pianos and safes before the crew arrives. Confirm the exclusions and the schedule at the free in-home estimate, in writing. Do those things and Day One goes to the flooring instead of the prep. Floors North Las Vegas works with nine leading brands across carpet, tile and hardwood, and services the whole of the valley as a single specialist. Call (888) 393-9180 to schedule your free estimate. We answer 24/7. Fast dispatch from 7am to 7pm, Sunday through Friday, closed Saturday.
Written by the team at Floors North Las Vegas.